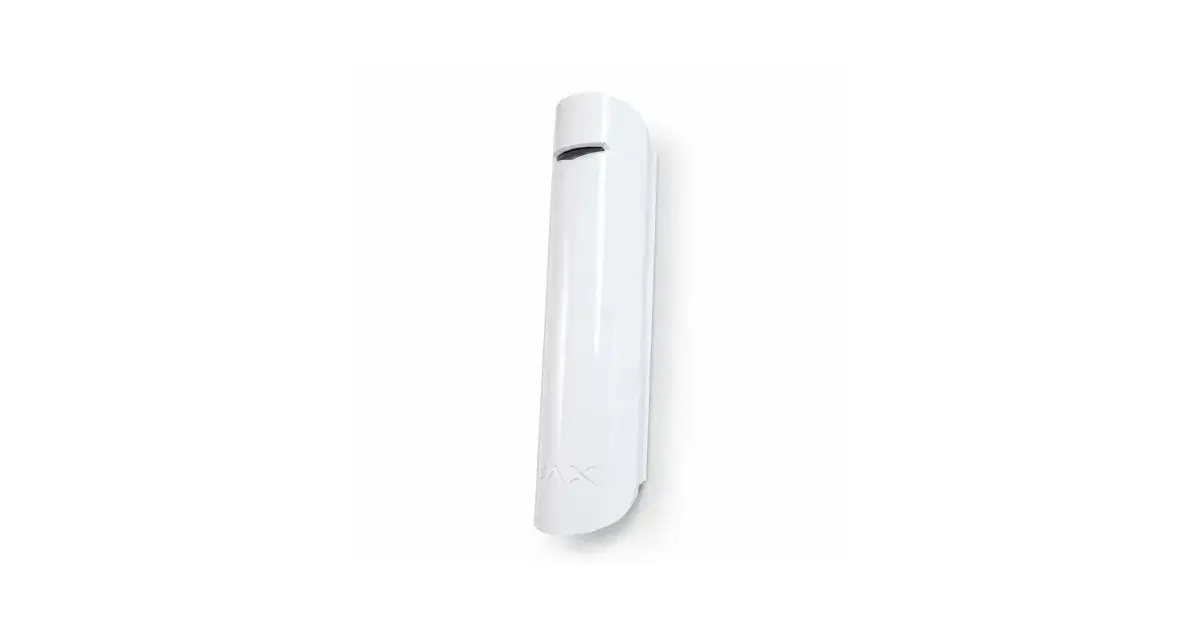
Most problems with an Ajax DoorProtect are not problems with the detector, but with the installation. If it comes loose after a few weeks, or your alarm reports at night that a door is open while it is closed, this is almost always down to how and where it was fitted. We install and sell these detectors every day and see the same two things go wrong every time. Both are easy to prevent, usually without drilling.
The two installation mistakes we see most often
Mistake 1: it comes loose
Stuck on with ordinary double-sided tape. It comes loose because of heat, vibration and the weight of the detector.
Mistake 2: not aligned
The sensor and magnet are not at the same height because of a difference in depth in the frame. The detector then reports “open”.
Solution 1: StickMount
A bracket with strong 3M VHB tape. Stick it on without drilling on a smooth surface, and it stays in place.
Solution 2: Spacer
A filler block that compensates for the difference in height, so that the detector switches reliably again.
Why the installation determines whether your DoorProtect works
The Ajax DoorProtect is a wireless opening detector. The detector contains a reed contact, and you stick or screw the magnet onto the moving part of the door or window. If the magnet passes close enough to the reed contact, the detector knows the door is closed. If it passes too far away or not along the correct side, the detector thinks the door is open. Reliable detection therefore comes down to two things: the detector must stay firmly in place, and the magnet must run in line at a small, constant distance. Both go wrong because of the installation, not because of the technology.
The detector comes loose, or you fix it with the wrong tape
Many people want to stick their Ajax DoorProtect rather than drill. That makes sense: you do not want to drill through a plastic frame, it is often not allowed in a rented home, and on glass it is simply not possible. It goes wrong when you grab an ordinary roll of double-sided tape from the DIY store. That holds for the first few weeks and then comes loose because of temperature changes, the vibration of a slamming door and the detector's own weight.
The solution is not “no tape”, but the right tape on a bracket that spreads the load. For this we designed the StickMount adhesive bracket: a custom-printed bracket with strong 3M VHB double-sided tape, already applied. 3M VHB is industrial double-sided tape used in automotive and facade construction, for example for trim strips and facade panels. Its adhesive strength is in a higher class than ordinary double-sided tape, and because the tape covers almost the entire bracket, the detector does not wobble.
Important: the double-sided tape that comes with the DoorProtect as standard is not intended for this either. In the installation manual, Ajax states that this tape is only meant to hold the detector in place temporarily during testing, and that you should not use it as a permanent fixing. The detector or magnet may then come loose and fall, and the tamper alarm will not trigger as long as the device is held on by tape alone. For a lasting drill-free installation you therefore need stronger tape on a bracket, or screws.
From practice first degrease the surface with isopropyl alcohol, press the bracket firmly in place for ten seconds and put as little load on it as possible for the first 24 hours. Grease and dust are the number one reason tape comes loose, and 3M VHB only reaches its full strength after curing.
The sensor and the magnet are not in line with each other
This is the silent killer. The detector is fixed firmly, the app works, and yet you occasionally get a notification that the door is open. Nine times out of ten this happens because the fixed part and the moving part of the frame are not the same depth. With wooden and plastic frames the difference is often a few millimetres, so the magnet passes just beside or below the reed contact.
Normally you would solve this with a piece of wood sawn to size under the detector or the magnet, until everything is aligned again. That works, but it is fiddly, seldom fits exactly and looks untidy. A filler block that fits exactly is neater. For this we make the Ajax Spacer: a 3D-printed block that fits specifically under the DoorProtect and DoorProtect Plus and compensates for the difference in depth, so that the reed contact and the magnet are aligned again. A small part, but a big difference between a system that switches reliably and one that wakes you up at night.
Adhesive or screws: an honest comparison
Sticking is the neat route on a smooth surface, while screwing wins on rough surfaces or heavily loaded work. This is how the three options compare.
| Ordinary double-sided tape | StickMount (3M VHB) | Screw mounting | |
|---|---|---|---|
| Drill-free | Yes | Yes | No, holes required |
| Adhesion | Low, comes loose after weeks | High, industrial 3M VHB tape | Very high |
| Suitable surface | Smooth surfaces only | Smooth, clean and grease-free | Almost any surface, including rough and porous ones |
| Appearance | Untidy, tape visible | Sleek, matches the detector, white or black | Neat, but screws are visible |
| Best for | A short trial setup | Plastic frame, rented home, glass | Rough wall or a heavily loaded door |
Surface and choice of magnet
On rough plasterwork, stucco, brick or a dusty wall, no double-sided tape adheres reliably, not even 3M VHB. Screw mounting is the right choice there, as it is on a door that slams hard all day. And pay attention to the magnet. Ajax supplies a small and a larger one, and the maximum distance differs: the small magnet works up to 1 cm from the detector, the large one up to 2 cm. Always place the magnet on the right-hand side of the detector, on the side with the marking on the housing, and at the same height as the reed contact. If the detector is on a perpendicular surface, for example in the frame, use the small magnet and keep to a maximum of 1 cm. If both parts are on the same surface, the large magnet may be up to 2 cm away. Keep that distance small and constant and test with realistic door movements before fixing everything permanently.
How to install it without mistakes
- Trial placement. Hold the detector and magnet in the intended position, close the door and check that both parts run parallel and that the gap stays small and constant. If there is a height difference between the frame sections, put the Spacer in place as well.
- Clean the surface. Clean the spot and remove any grease with isopropyl alcohol, then let it dry. This is the most important step for a lasting adhesive bond.
- Position the detector. Stick on the StickMount and press it firmly in place for ten seconds, or screw the bracket onto a rough surface. Then click the DoorProtect into it.
- Position the magnet. Align the magnet along the marking on the detector, at the same height. Use the larger magnet if you need to bridge a little more distance.
- Testing in the Ajax app. Open and close the door a few times, gently and firmly, and check that the status changes immediately and reliably. Only then give the tape a full day to cure.
Installing the Ajax DoorProtect
Can I stick my Ajax DoorProtect on without drilling?
Which double-sided tape should I use for an Ajax DoorProtect?
My DoorProtect reports “open” while the door is closed. What now?
Doesn't ordinary double-sided tape hold a DoorProtect in place?
At what distance and on which side does the magnet go?
Why not use the tape supplied by Ajax?
Does this also work for the DoorProtect Plus and the GlassProtect?
Install it neatly yourself
Secures is an Ajax PRO partner and a VEB-approved security company. We design and print the StickMount and the Ajax Spacer ourselves in impact-resistant PETG, in white and black. This lets you fit your DoorProtect reliably without drilling. If you are unsure about the right approach for your situation, we are happy to advise.